
Today I'm going to showcase a bit of my texturing workflow. In the past I've been using lots of textures from various sources and edited them on my own.
This year I decided to step up and try to make textures all on my own using Substance Sampler.
Workflow
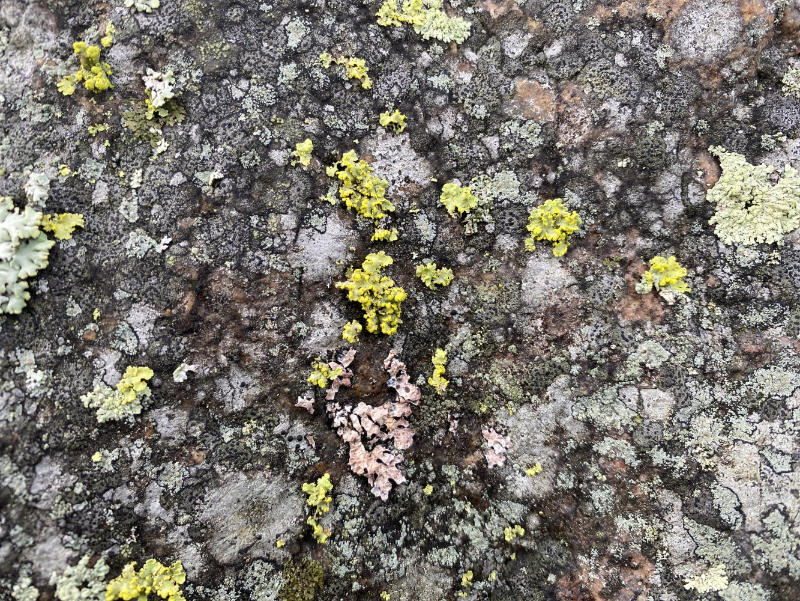
It all starts with taking photos outdoors: rocks, ground, forest floor, or whatever you want to create a texture from. Nowadays you can simply use your smartphone—the quality of the photographs is good enough, at least for my use.
I've found that flat and "clean" surfaces with not too many tiny details work the best, but you can capture more detailed ones too, as you can see from the photograph above. If there's too much going on, it can get too messy when working with height displacement.
I usually clean up my raw photograph a bit in Photoshop/Affinity Photo, and after that I open it up in Substance Sampler.
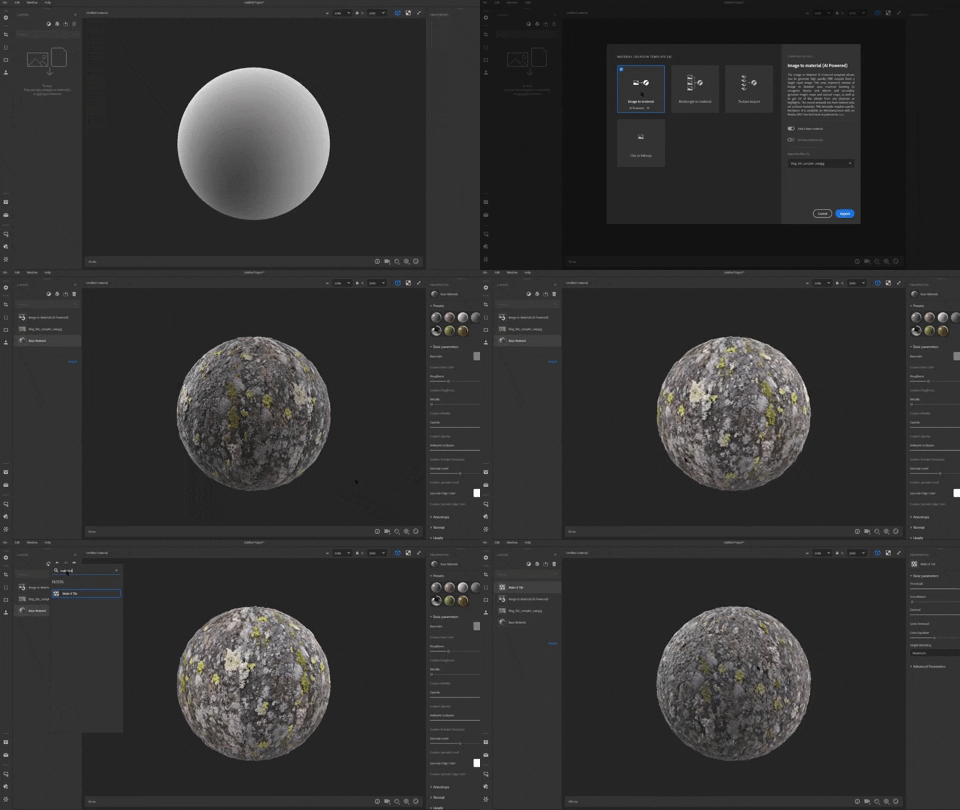
In Sampler, I simply drag & drop the photograph in, and use the "Image to Material (AI Powered)" tool to generate a 3D texture from it.
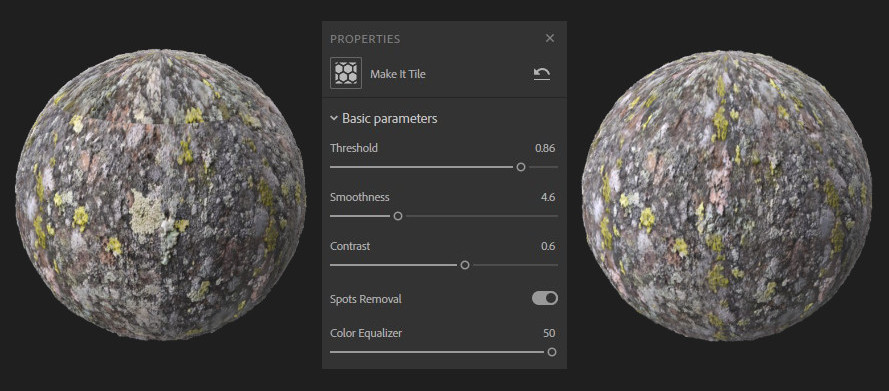
It's almost good enough as it is, but once again, I clean it up a bit with the "Make It Tile" tool to make it look more seamless, and after that I'm ready to go!
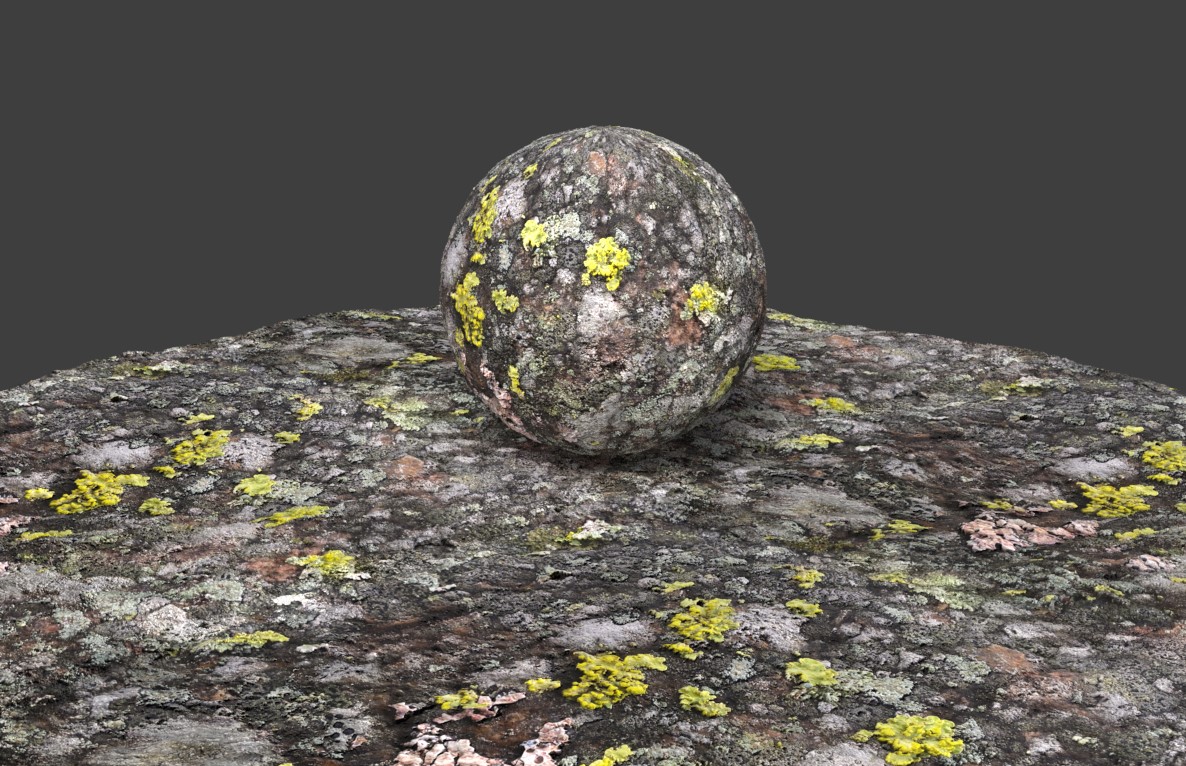
I export the texture from Sampler and apply it to my models in Stager, usually tweaking the displacement strength to get it to look as nice as possible. I've been really surprised at how easy this has been and what great-looking textures you can create out of photos you took with your phone!
Thanks for reading! Check out my Instagram for the latest artwork where I've been using this technique.